

Make your own membership cards at home
Design your Membership Card

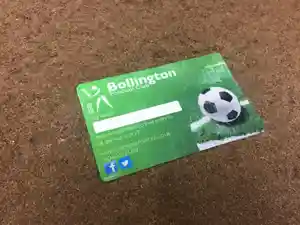
In order to make your own membership cards at home, you will need a computer and some software to create the design/artwork to be printed. A membership card usually measures 86 x 54mm so you need to create your document to the correct size.
Once you have created your design, we recommend you put a very thin outline (with rounded corners with a 3mm radius) to depict the card edge around the artwork, this will be your guide for later on when you cut them to size.
Prepare the optional extras
Also, within your design, if you need a signature strip, place a box on the artwork for the signature strip with a thin outline.
Then, set up your print software to print the cards 10 up on an A4 sheet with each card touching each other. Have the cards start high up on the A4 sheet so there is a bigger margin at the bottom as some inkjet printers are unable to print very close to the bottom edge!
If you want the cards sequentially numbered, if your software allows it, you can specify a different number to be printed on each card. If this is not possible you will have to manually print a number on each card by making a new A4 template with 10 numbers in the correct location and print the numbers as an additional process over the main artwork that you have just printed.
Time to print
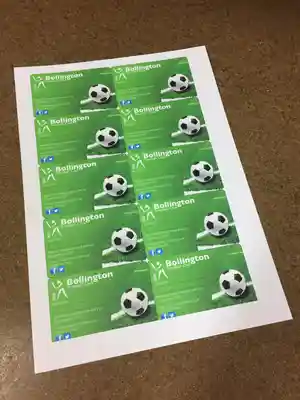
Once this has been done, simply print the pages so you have enough cards. For example, print 11 pages if you want 100 membership cards as this will give you 10 extra cards in case you need them or if you make a mistake with cutting them out!
Once you have printed the sheets, if you need anything printing on the back, then place them back in your inkjet printer and again print 10 up the artwork for the back of the cards.
If your printer settings are correct the artwork for the back of the cards should line up exactly with the artwork for the front of the cards.
Time to laminate
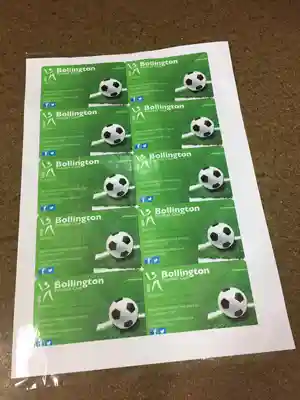
Then, you need to laminate the A4 sheets with a desktop laminator, one at a time. It is best to use the thickest laminating pouches that you can get, typically the thickest available are 500 microns (250 microns per sheet). With the thickness of the paper, the membership cards will not be as thick as the professional ones that we print at 760 microns thick but they will be ok to use.
Apply the masking tape for the strips
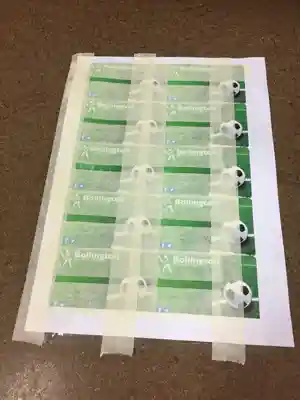
If you need signature strips on the card so you can sign a name or write other information then you need to take some masking tape and place it in horizontal and vertical lines on the laminated A4 sheets to mask off around the places for the signature strips.
Apply the signature strips
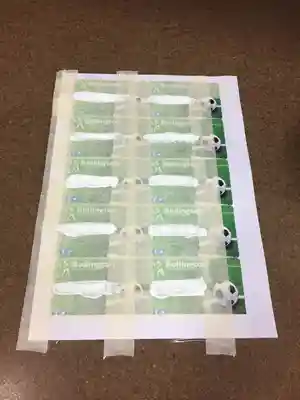
Now take some Tipp-Ex or some matt white paint and carefully paint it in the spaces for the signature strips. Then, before the paint/Tipp-Ex has fully dried, carefully remove the masking tape and leave the sheets to dry.
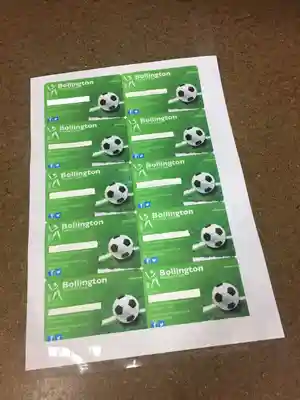
Cutting time
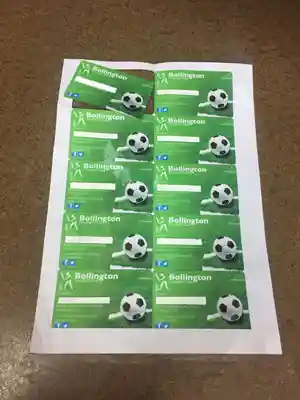
Once the sheets have dried, take a paper slicer or a pair of scissors and very carefully cut each card out. This will take a lot of time but the more time you take on this step, the better the finished results will be.
Take extra care with the corners, so they look neat and tidy and consistent. If you choose not to have rounded corners, then the square corners will be a weak point and the paper will delaminate quickly and will soon look shoddy.
As your 'home made' membership cards have a paper core, they will not be as durable as the professional membership cards that we produce so avoid getting them wet otherwise the paper core will soak up water and delaminate.
Hopefully the above information will get you started with your membership cards. Please get in touch with us if you want professional quality membership cards and we will be happy to quote.