


Canva Print Bleed and Crop Marks Explained
Print bleed is the extra 3.175mm of design that Canva adds round the outside of your card, so the background still reaches the edge after the cards are cut. Turn on Show print bleed, run every background to the outer edge of it, and download a PDF Print file with Crop marks and bleed ticked. Leave the crop marks on: we delete them.
Bleed is easy to miss in Canva, and when it’s missing it shows on every finished card. This guide explains what bleed and crop marks do, where Canva keeps them, and how to check your PDF before you send it.
The short versionDesign at 86 x 54mm, not 92 x 60mm. Turn on Show print bleed. Run backgrounds, photos and edge shapes to the outer edge of the bleed. Keep wording 3mm inside the card edge. Download PDF Print with Crop marks and bleed ticked, and leave the crop marks on. Open the PDF and check the corners before you send it.
What bleed is, and why cards need it
Plastic cards are printed several to a large sheet, then cut out. The cut is very accurate, but not perfect: it can land 1 to 2mm away from where it should. If your design stops exactly at the edge of the card, that small movement leaves a thin strip of white sheet down one edge.
Bleed is the answer. The design carries on past the card edge, so wherever the cut lands within that 1 to 2mm, it lands on your design. The bleed is cut off and thrown away, and nobody sees it on the finished card.
The cut has moved 1.5mm to the right. A white strip shows down one edge of the card.
The same cut. The design carries on past the card edge, so the card is covered right to the edge.
The dashed line is where the cut should be; the solid line is where it landed. The grey is the part of the sheet that’s thrown away. Marrowby Bakehouse is made up for this page.
Canva’s bleed is 3.175mm, and that’s fine
Canva’s print bleed is 0.125 inches, or 3.175mm, on every side, and it can’t be changed (Canva’s guide to margins, bleed and crop marks). We ask for 3mm. Canva’s is a fraction more, and the extra is trimmed off with the rest of the bleed, so you don’t need to do anything about it.
- Design at the size of the card, 86 x 54mm, or 54 x 86mm for a portrait card. Canva adds the bleed round the outside.
- Don’t make the design 92 x 60mm. That’s the size of our own templates, which have the bleed built in. In Canva, the bleed would be added on top, and the file would be the wrong size.
- Use a design, not a Canva Doc. Canva’s print bleed doesn’t work in Canva Docs. Start from Custom size, as our Canva guide shows.
Turning on print bleed in Canva
Canva has moved this setting between versions, so look in both places.
On a computer
- Open the File menu at the top left of the editor.
- Go to Rulers and guides, or Settings in some versions of Canva (Canva help).
- Select Show print bleed. A dashed border appears round your design. The space between that border and the edge of the page is the bleed.
In the Canva phone app
- Tap the More icon in the editor.
- Tap Settings, then Show print bleed. If it isn’t there, try More, then Rulers and guides.
Turning on print bleed only shows it while you design. It goes into your file when you download with Crop marks and bleed ticked, which we come to below.
Filling the bleed
With print bleed showing, anything that touches the edge of the card has to carry on to the outer edge of the page, not stop at the card edge. That means:
- Background colours. Check the colour reaches the outer edge on all four sides.
- Photos. Drag the edges of a background photo out past the dashed line until they reach the edge of the page. Make it bigger from a corner, so it keeps its shape.
- Shapes, stripes and bands that run off the card, such as the wave across the bottom of the bakery card above. Drag their ends out to the edge of the page.
- Both pages. The back needs bleed too, if anything on it runs to the edge.
Nothing important goes in the bleed. It’s cut off, so wording, logos or a QR code placed there would be cut off with it.
The safe area: 3mm inside the edge
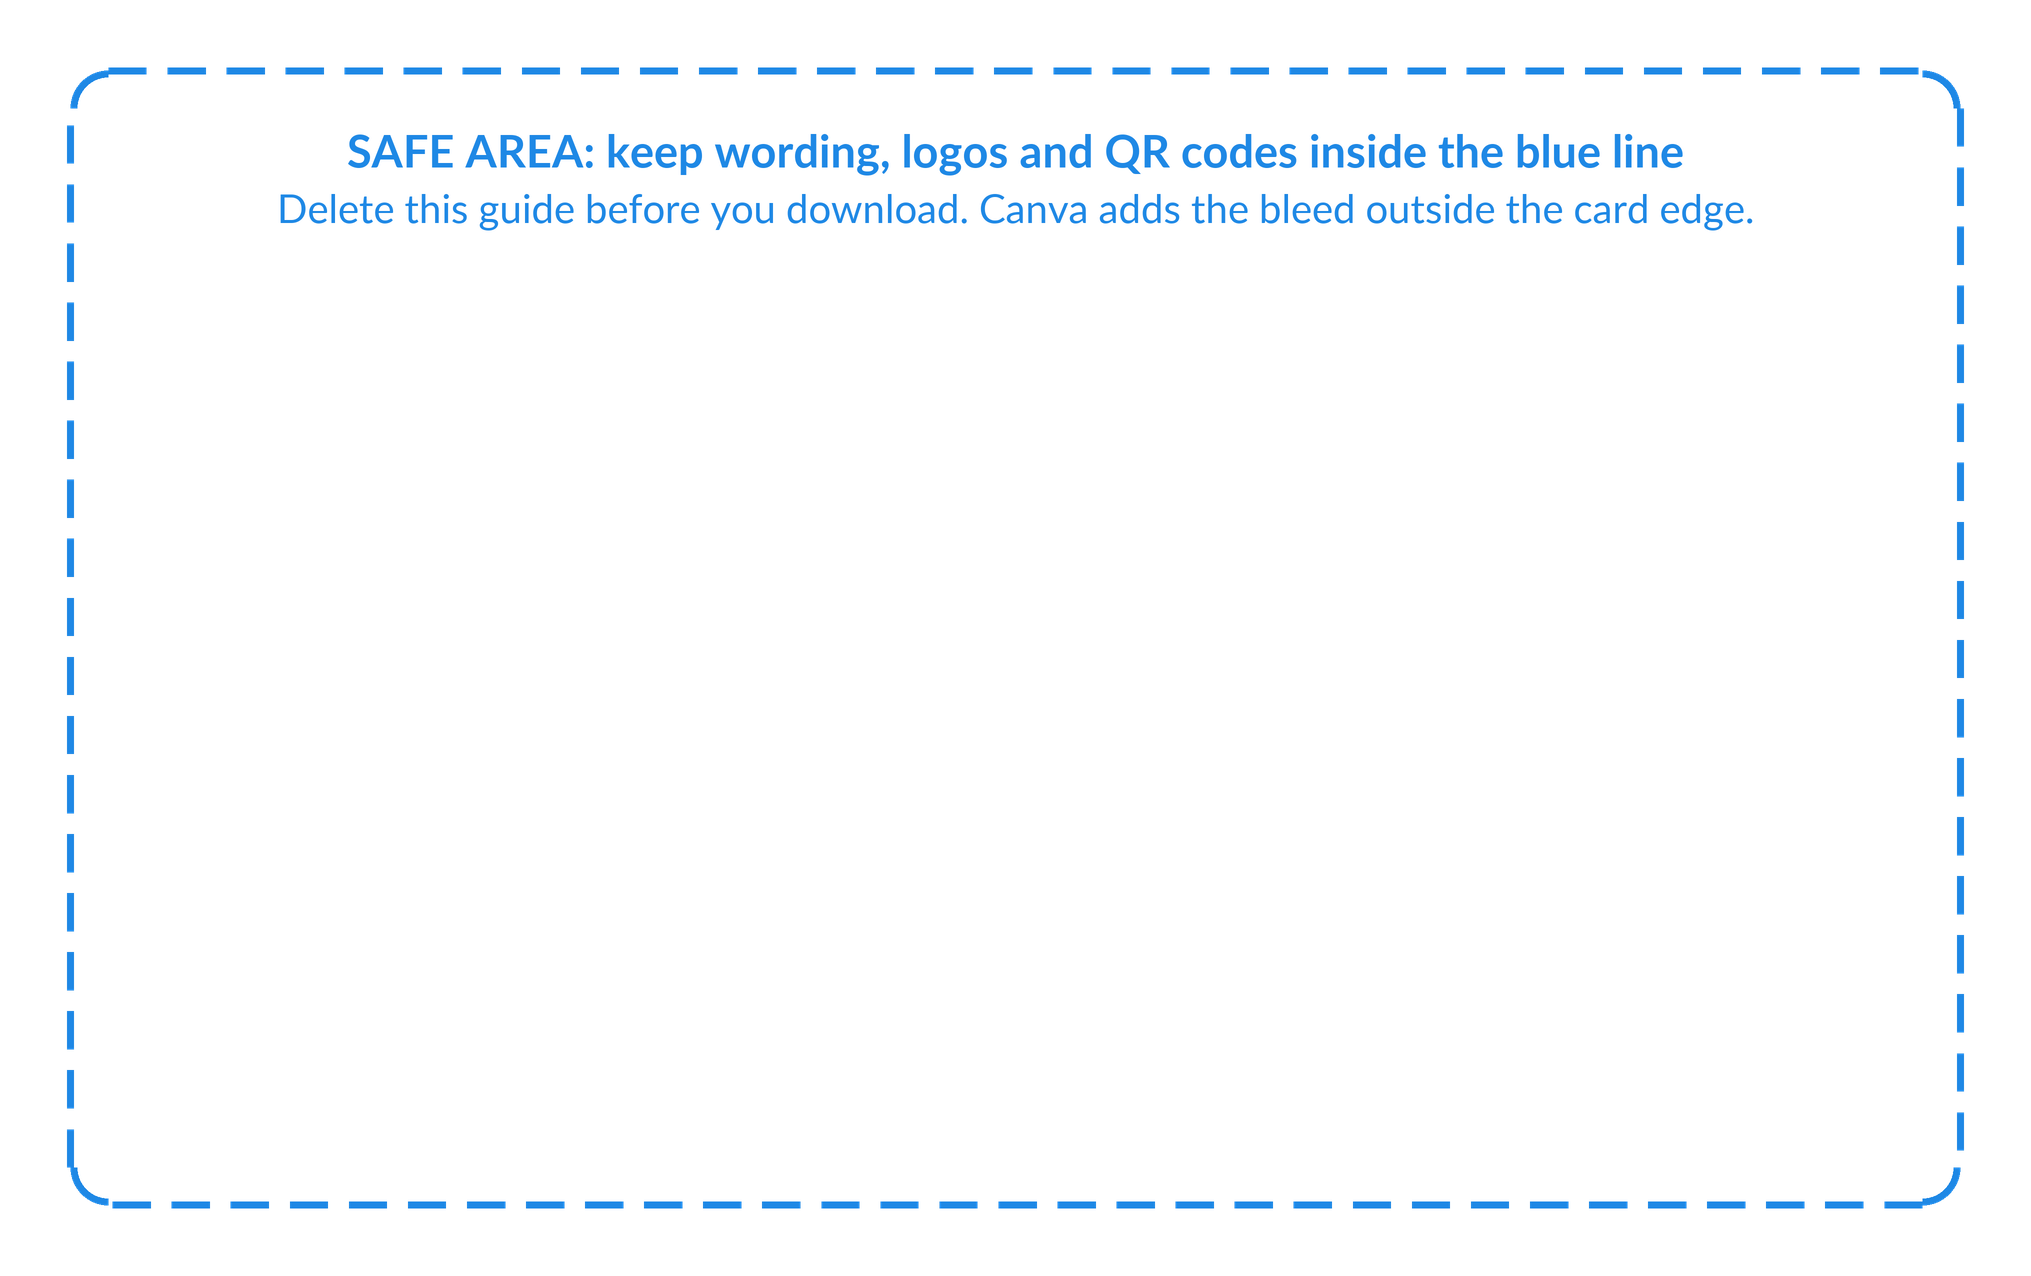
Bleed looks after the outside edge. The safe area looks after the inside. Because the cut can move, keep your wording, logo, QR code and any numbers at least 3mm inside the card edge, in an area 80 x 48mm. Closer than that, and the cut can clip them.
Canva’s own margin guide is a fixed size that you can’t set to 3mm, so use one of these instead:
- Our free Canva safe-area guide. Download the PNG, upload it to Canva, stretch it over your 86 x 54mm design, and delete it before you download. It marks the 3mm line for you.
- The bleed as a ruler. The bleed border is just over 3mm wide. Keep everything important at least one bleed-width in from the card edge.
- Guides. On a computer, press Shift and R for Canva’s rulers, then drag a guide in from each ruler to 3mm inside each edge (Canva’s keyboard shortcuts).
Why a thin border near the edge is risky
A border or frame drawn close to the card edge can look uneven on the finished card. With bleed, a cut that moves 1 to 2mm doesn’t leave white, but it does change the gap between the border and the edge. Here a border sits 3mm in, and the cut moves 1.5mm:
The further in a border sits, the less a small shift shows. If an even border matters to your design, keep it well inside the safe area, or leave it off and let the background run to the edge instead.
Crop marks: leave them on
Crop marks are short lines at each corner of the page, outside the bleed. They line up with the edges of the card and show where to cut. Canva adds them when you download a PDF Print file with the Crop marks and bleed setting ticked. That one setting adds both, and it’s off unless you tick it (Canva’s download file types).
You don’t need to remove the crop marks. We delete them before printing, so they never appear on your cards. What matters is the bleed that comes with them.
- File type: PDF Print. It’s the download that includes bleed.
- Crop marks and bleed, ticked. Without it, the file stops at the card edge.
- Colour profile: CMYK, if your Canva plan offers it. Our guide to Canva CMYK explains what happens if it doesn’t.
- All pages, so the front and back come in one file.
Checking your PDF before you send it
Open the PDF on a computer, in Preview, Adobe Acrobat Reader or your web browser, and zoom in on one corner. It should look like this:
- A crop mark, outside the design, in line with the card edge.
- The bleed. The background carries on past the card edge, all the way to the end of the colour.
- The card edge. Where the crop marks point. This is where the card is cut.
- The safe area, 3mm inside the card edge. Wording and logos stay inside it.
- Check all four corners, on every page: the front and the back.
- No crop marks, and the design stops at the page edge? Crop marks and bleed wasn’t ticked. Download it again.
- Colour that stops exactly where the crop marks point? Something stops at the card edge. Go back and drag it out to the edge of the bleed.
- Wording close to where the crop marks point? Move it in, so it’s at least 3mm from the card edge.
What goes wrong with bleed in Canva
Not sure your bleed is right?
Send the file anyway. Our free artwork check looks at the bleed, the size, the resolution and the colour mode of every file, and tells you what we find. You can fix it in Canva and send it again at no charge, or we fix it for £10 +vat. There’s more on our artwork checking service page, and our Canva artwork checklist goes through everything else to check before you send.
Rather not set it up yourself? Our design service designs your card for £29 +vat, with no limit on reasonable amends.
Questions & Answers
-
What is print bleed in Canva?
Print bleed is an extra strip of design round the outside of the page, beyond the edge of the card. Canva shows it as a border when you turn on Show print bleed. Your background runs into it, and it’s cut off when the cards are trimmed, so the colour reaches the edge of every card.
-
How big is Canva’s print bleed, and can I change it?
It’s 3.175mm (0.125 inches) on every side, and Canva doesn’t let you change it. We ask for 3mm, so it’s a fraction more, and the extra is trimmed off with the rest of the bleed.
-
Where is Show print bleed in Canva?
On a computer, go to File, then Rulers and guides, then Show print bleed. In some versions of Canva it’s under File, then Settings. In the phone app, tap the More icon, then Settings, then Show print bleed, or More, then Rulers and guides.
-
Do I need crop marks on my Canva PDF?
Leave them on. Canva adds crop marks and bleed with one setting, Crop marks and bleed, when you download a PDF Print file. The bleed is the part we need. The crop marks are outside the design, and we delete them before printing.
-
Should my Canva design be 86 x 54mm or 92 x 60mm?
86 x 54mm, the size of the finished card. Canva adds the bleed itself when you turn on print bleed. A design made at 92 x 60mm would get bleed added on top, and the file would be the wrong size.
-
Does a PNG or JPG download from Canva include bleed?
No. PNG, JPG and PDF Standard downloads stop at the edge of the page, so there’s no bleed. Download PDF Print with Crop marks and bleed ticked.
-
Why do my printed cards have a thin white edge?
Almost always because the file had no bleed, or the background stopped at the card edge instead of running into the bleed. Cards are cut from large sheets, and the cut can move by 1 to 2mm. Without bleed, that movement shows as white.
-
How close to the edge can I put my wording?
No closer than 3mm to the card edge. That leaves an area of 80 x 48mm for wording, logos, QR codes and numbers. Closer than that, and the cut can clip them.
-
Will you check my bleed before printing?
Yes, free of charge. We check every file for technical problems, including missing bleed, and tell you what we find. You can fix it in Canva and send it again at no charge, or we fix it for £10 +vat.
Ready to order?

Email your Canva PDF to sales@cpcards.co.uk with the card type and quantity. We’ll check the bleed and the rest of the file free of charge, and quote by email.
Your free photorealistic proof lets you check the layout and wording before anything is printed. The colours on the proof are a guide only, because every screen shows colour differently.