

How to Make a Gift Card in Canva
Start a custom-size Canva design of 86 x 54mm with print bleed on, and design the front as the present: your name, the words Gift Card and one strong image. Put the back on page 2, with clear spaces for anything that changes from card to card or is added when the card is made. Then download a PDF Print file and email it to us.
Canva makes one design. Card numbers, barcodes and secret codes come from a start number or a spreadsheet, and write-on and scratch-off panels are added when the cards are made. So your work in Canva is the layout, and the spaces those things go in. This guide covers both sides of the card, those spaces, and a carrier to hand it over in.
The short versionDecide how the value works first. Custom size, 86 x 54mm, with print bleed on. Front: your name, Gift Card and one image, running into the bleed. Back, on page 2: how to use it, your terms, and clear spaces for write-on panels, a card number, a barcode or a scratch-off panel. Send numbers and codes in a spreadsheet, not as Canva pages. Download PDF Print with crop marks and bleed, and email it to sales@cpcards.co.uk.
Before you start: decide how the value works
What each card buys, and where that’s recorded, decides what goes on the design. There are four ways to set gift cards up, and each one changes what you make in Canva.
Whichever you choose, print the item or the amount, never both. Our gift card printing guide works out which set-up suits your business, and many businesses sell two kinds side by side.
Step 1: Set up an 86 x 54mm design
- Select Custom size, set the units to mm, and enter 86 by 54. For a portrait card, enter 54 by 86 (Canva help).
- Turn on print bleed. In Canva on a computer it’s File, then Settings or Rulers and guides depending on your version, then Show print bleed. In the phone app, it’s under More, then Settings. Canva adds 3.175mm on every side (Canva’s bleed help), a fraction more than the 3mm we ask for, which is fine.
- Add a second page for the back. Printing the back costs nothing extra, and a gift card needs it.
Don’t start from Canva’s standard business card. It’s 89 x 51mm (Canva), a paper card size, while a plastic gift card is 86 x 54mm. If you’ve already designed on one, our guide to turning a Canva business card into a plastic card shows how to move it across. Every setting is explained in our main guide to designing a plastic card in Canva.
Step 2: Design the front as the present, and the back to work
The front has to look good enough to give. The back has to work weeks later, for someone who has never been to your business. Here’s one laid out for option C, the most common choice.
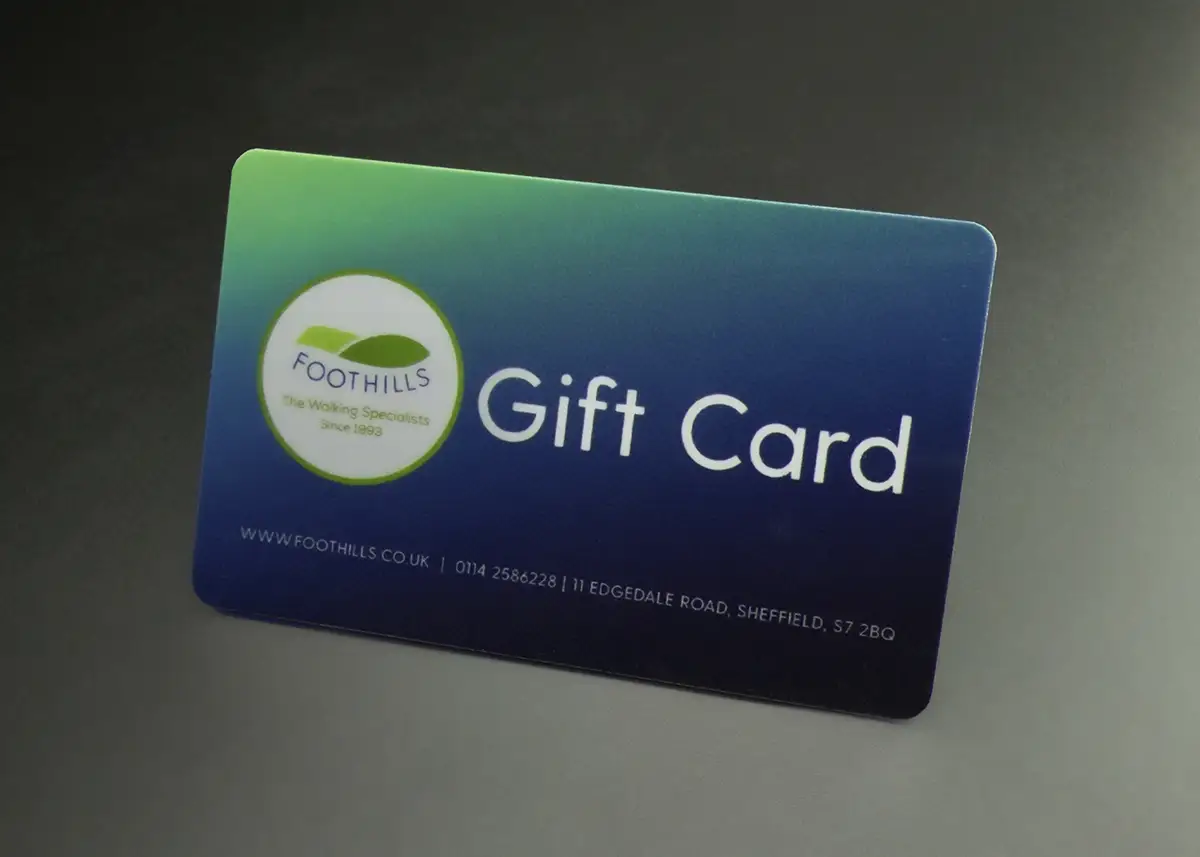
- Your name and logo. The first thing the recipient sees is who it’s from.
- The words “Gift Card”, large enough to read at arm’s length on a display stand.
- One strong image, run into the bleed. Full-bleed designs look more generous than a white border.
- How to use it, in a line or two: in store, online, or quoting the card number when booking.
- Write-on panels, on white, with the labels printed beside them. They take an ordinary pen.
- The card number, printed on every card, so each one can be found in your register.
- A QR code to your website. The same code on every card is part of your design and costs nothing extra. Keep it at least 15mm square.
- Two or three lines of terms, no smaller than 6pt. The rest can go on your website.
Marrowby & Finch is made up, and the QR code in the drawing is an illustration: don’t scan it. On the front, leave out a year unless it’s a seasonal design, and leave off prices, staff names and offers that end. For a gold or silver card, a metallic base card is an optional extra: white can’t be printed on it, so design without white. If a gift card can expire, the date must be clear and the terms fair: our guide to gift card VAT and expiry rules explains. There’s more on layout and wording in how to design a gift card.
Step 3: Leave spaces for what’s added to each card
Some things on a gift card aren’t in your Canva file at all. You design the space they go in, and tell us what goes there.
- Write-on panels. They’re added on top of the finished card, so nothing can be printed on them. Draw a white box the size you want, at least 4mm from the edge, with its label beside it, and tell us in your email which boxes are panels. Any size is available; a typical signature strip is 75 x 8mm. On a coloured background a panel picks up the colour behind it, which is why it goes on white.
- Card numbers. Don’t make a Canva page for every card. Leave a space, then give us a start number and the cards run on from it, or send the exact numbers in a spreadsheet. Numbers can be printed in any CMYK colour, so they can match your design.
- Barcodes. Ask your till supplier which barcode it reads, and leave a white box for it. As a rule of thumb, the bars want to be at least 10mm tall, with the narrowest bar 0.25mm or more and clear space either side. The barcode carries the card number, from the same spreadsheet. Our guide to gift cards with barcodes gives the widths.
- Shopify POS. Each card needs its own code of 8 to 20 letters and numbers, which staff type in, so leave room to print it large and clear, and leave off the barcode. See gift cards for Shopify POS.
You don’t need Canva’s Bulk Create for any of this. It makes a separate version of a design for every row of data, on Canva’s paid plans (Canva’s Bulk Create help), but we print each card’s details from your spreadsheet. Names, numbers and barcodes on Canva cards shows how to set the spreadsheet out.
Scratch-off panels for codes spent online
If customers spend the card online by typing in a code, give every card its own secret code under a scratch-off panel. A code printed in the open on a card in a counter display is a code anyone can photograph. Under the panel it stays hidden until the person who was given the card scratches it.
- The panel is added when the card is made, as an optional extra, so it isn’t in your Canva file. Leave a space for it, at least 4mm from the edge. Most sizes are possible, and a typical panel is 8 x 75mm.
- Print the instruction beside it, such as “Scratch to reveal your code”, because nothing can be printed on the panel itself.
- Keep the background behind it plain, so the code is easy to read once it’s scratched.
- Leave a space for the card number where it can always be seen, so you can tell which card is which without scratching it.
- Send the codes in a spreadsheet: the card number in column A and the secret code in column B, one row per card, with both columns formatted as Text before you paste anything in. Keep your copy: it’s the only record of which code is on which card.
- Never put the secret code in a barcode. Anyone can scan a barcode with a phone.
Scratch-off panels aren’t available on EcoTough or Plastic-Free Board cards. Our guide to gift card codes in Excel or CSV shows the file, how to make codes that are easy to type, and how to stop Excel changing your numbers.
Designing a card carrier in Canva
A card carrier or wallet holds the gift card in a printed folder, so it’s handed over as a present rather than a bare card. You can design one in Canva the same way as the card, at the carrier’s own size, with print bleed on and the wording 3mm inside the edge. We offer four formats, all on 350gsm silk board:
| Format | Size | In Canva |
|---|---|---|
| Standard display carrier | 148 x 105mm (A6), flat, printed both sides. Comes with glue dots to fix the card. | Custom size 105 x 148mm, upright like our template. Front on page 1, back on page 2. |
| Euro slot display carrier | 148 x 105mm (A6), with a die cut slot to hang it and slits to hold the card | The slot and slits are in fixed places, so work from our template. |
| Landscape wallet | 75 x 210mm flat, 75 x 105mm folded, with a crease and slits to hold the card | The crease and slits are in fixed places, so work from our templates for the outside and inside. |
| Card sleeve | 87 x 60mm, creased and glued, with a thumb notch. Printed on the outside only. | Ask us for the template. |
- The bleed. Canva adds 3.175mm. Run the background into it.
- The trim line, 105 x 148mm, where the carrier is cut.
- The safe area, 3mm inside the trim. All the wording stays inside it.
- Where the card goes. Keep an 86 x 54mm space clear of wording: the card is fixed there with the glue dots.
The templates for the standard, euro slot and wallet formats are on our artwork guides page. They’re Photoshop files: if you can’t open them, email sales@cpcards.co.uk and ask. Carriers and cards are supplied separately, not attached. Carriers are printed on board, so the same colours can look slightly warmer than on the card. Our card carriers page has prices and photos of each format.
Step 4: Download a PDF Print file and send it
- Select Share, then Download, and choose PDF Print.
- Tick Crop marks and bleed. Leave the crop marks on: we delete them before printing.
- Choose CMYK as the colour profile if your plan offers it. Canva offers CMYK on its paid plans (Canva’s download file types).
- Download all pages, so the front and back are in one PDF. Download a carrier as its own PDF.
Email the PDF to sales@cpcards.co.uk with the card type and quantity, and tell us which white boxes are write-on panels, where the number, barcode or scratch-off panel goes, and the start number. Attach any spreadsheet of numbers or codes as an Excel or CSV file. We check every file free for bleed, resolution, colour mode and set-up; if something needs changing, fix it in Canva and resend at no charge, or we fix it for £10 +vat. Our Canva artwork checklist lists every check to make before you send.
Mistakes we see on Canva gift cards
Rather not do it yourself?
Our design service designs your gift card for £29 +vat, with no limit on reasonable amends, and can set up the carrier and the card together, so the two are designed as one piece. Send your logo, your wording and a Canva draft if you have one.
Questions & Answers
-
Can you make a gift card in Canva?
Yes. Create a custom-size design of 86 x 54mm with the units in millimetres and print bleed on. Design the front on page 1 and the back on page 2, leaving clear spaces for card numbers, barcodes and any write-on or scratch-off panels. Then download a PDF Print file with crop marks and bleed, and email it to us to print on plastic.
-
What size is a gift card in Canva?
86 x 54mm, the size of a bank card. Set it up as a custom size in millimetres and turn on print bleed, which Canva adds around the edge. Don’t start from Canva’s standard business card, 89 x 51mm, which is a paper business card size.
-
Can I put a different number on each gift card in Canva?
You don’t need to. Design one card with a space for the number, and give us a start number or send the numbers in a spreadsheet: each card is printed with its own. The same goes for barcodes and for the secret codes under scratch-off panels.
-
How do I add a scratch-off panel in Canva?
You don’t add the panel itself. It’s an optional extra, applied when the cards are made. In Canva, leave a plain space for it at least 4mm from the edge, with the instruction printed beside it, and send the codes that go under it in an Excel or CSV file.
-
Should I print the amount on a gift card?
Only if each card is sold at one set amount, and then each amount is its own design. One design with a write-on panel for the amount covers every value, and a card held on your till needs no amount at all. Print the item or the amount, never both.
-
Can a gift card have a barcode?
Yes. Ask your till supplier which barcode it reads, leave a white box for it in your design, and send the card numbers in a spreadsheet. The barcode should carry the card number, never a secret code, because anyone can scan a barcode with a phone.
-
What should the back of a gift card say?
How to use it, a card number, a valid-until date and two or three lines of terms, such as no cash alternative and what happens if it’s lost. Add write-on panels for To, From and the amount if staff fill them in, and a QR code to your website if you like.
-
Can I design the gift card carrier in Canva too?
Yes. For a standard display carrier, create a custom size of 105 x 148mm with print bleed on, the front on page 1 and the back on page 2, and keep the wording 3mm inside the edge. The euro slot carrier, landscape wallet and card sleeve have slots, slits or folds in fixed places, so work from our template for those.
-
Do I need Canva Pro to make a gift card?
No. Only the CMYK download needs one of Canva’s paid plans. If you can only download in RGB, send that: our free artwork check flags the colour mode, and we can convert it for £10 +vat.
Ready to order your gift cards?

Send us your Canva PDF, and any spreadsheet of numbers or codes, with the card type and quantity. We’ll check the file free of charge and quote by email.
Your free photorealistic proof shows the panels, numbers and codes in place, so you can check the layout and wording before anything is printed. The colours on the proof are a guide only, because every screen shows colour differently.