
How to Make a Loyalty Card in Canva
Start a custom-size Canva design of 86 x 54mm in millimetres and turn on print bleed. Draw the stamp boxes inside the 80 x 48mm safe area, each 1 to 2mm wider than the mark your stamp makes: ten 12mm boxes with 3mm gaps fit in two rows. Then download a PDF Print file and email it to us.
Before you draw a box, decide how your staff will mark the card. The printed surface of a PVC card doesn’t take an ordinary ink pad, so the card, the ink and the boxes have to suit each other. This guide covers that choice, the box sizes, the Canva settings that matter for a stamp card, and the wording.

The short versionCustom size, 86 x 54mm, with print bleed on. Measure your stamp’s mark and make each box 1 to 2mm wider. Keep boxes and wording 3mm inside the edge. Make the box count match the offer. An ordinary ink pad needs a Plastic-Free Board or EcoTough card; on PVC, use a quick-drying ink for non-porous surfaces or a sturdy punch. Download PDF Print with crop marks and bleed, and email it to sales@cpcards.co.uk.
Before you start: which card takes your ink?
Decide how staff will mark the card before you design it. Our full colour PVC cards have the print sealed between clear PVC sheets, which is why it can’t scratch or wear off. It’s also why an ordinary ink pad sits on top of the card and smudges. Our Plastic-Free Board and EcoTough cards take an ordinary ink stamp or a pen anywhere.
| Ordinary ink stamp | Quick-drying ink | Punch | Pen | |
|---|---|---|---|---|
| Plastic-Free Board, 620 microns | Yes Anywhere | Yes | Yes | Yes Anywhere |
| Standard PVC, 760 microns: the printed surface | No Sits on top and smudges | Yes Let it dry first | Yes Use a sturdy one | No Ballpoint skips |
| Standard PVC: a write-on panel | Test first | Yes | Avoid Punches through what’s written | Yes What it’s for |
| EcoTough, 360 microns | Yes Anywhere | Not confirmed | Not confirmed | Yes Anywhere |
On a PVC card, that means a quick-drying ink made for non-porous surfaces (the label usually says “non-porous” or “plastic, glass and metal”), or a sturdy punch, which needs no ink at all. Anything written by hand, such as the customer’s name, goes on a write-on panel.
- On PVC: quick-drying ink. Made for non-porous surfaces. Let each stamp dry for a few seconds before the card goes back in a wallet.
- On PVC: a write-on panel for the name. It takes an ordinary ballpoint pen. Put it on white in your design, with the label beside it, at least 4mm from the edge.
- On board or EcoTough: an ordinary ink pad. It works anywhere on the card, not only on a write-on panel.
- On board or EcoTough: a pen anywhere. No panel needed, so a printed line is enough for the name.
Pens and inks vary, so try yours on a real card first: our sample pack has the different card types, and its cost is deducted if you order within 30 days. Our guide to loyalty stamp cards compares board and PVC for stamping in more detail. Tansywell Café is made up for this page.
Step 1: Set up an 86 x 54mm design
- Select Custom size, set the units to mm, and enter 86 by 54. For a portrait card, enter 54 by 86. Canva offers px, in, mm and cm (Canva help).
- Turn on print bleed. In Canva on a computer it’s File, then Settings or Rulers and guides depending on your version, then Show print bleed. In the phone app, it’s under More, then Settings (Canva’s bleed help). Canva adds 3.175mm on every side, and the size can’t be changed: that’s fine, as we ask for 3mm.
- Add a second page for the back. Page 1 is the front and page 2 is the back. Printing the back costs nothing extra.
- Mark the safe area, if you like. Our Canva safe area guide is a see-through PNG that marks the line 3mm inside the edge: upload it, stretch it over your design, and delete it before you download.
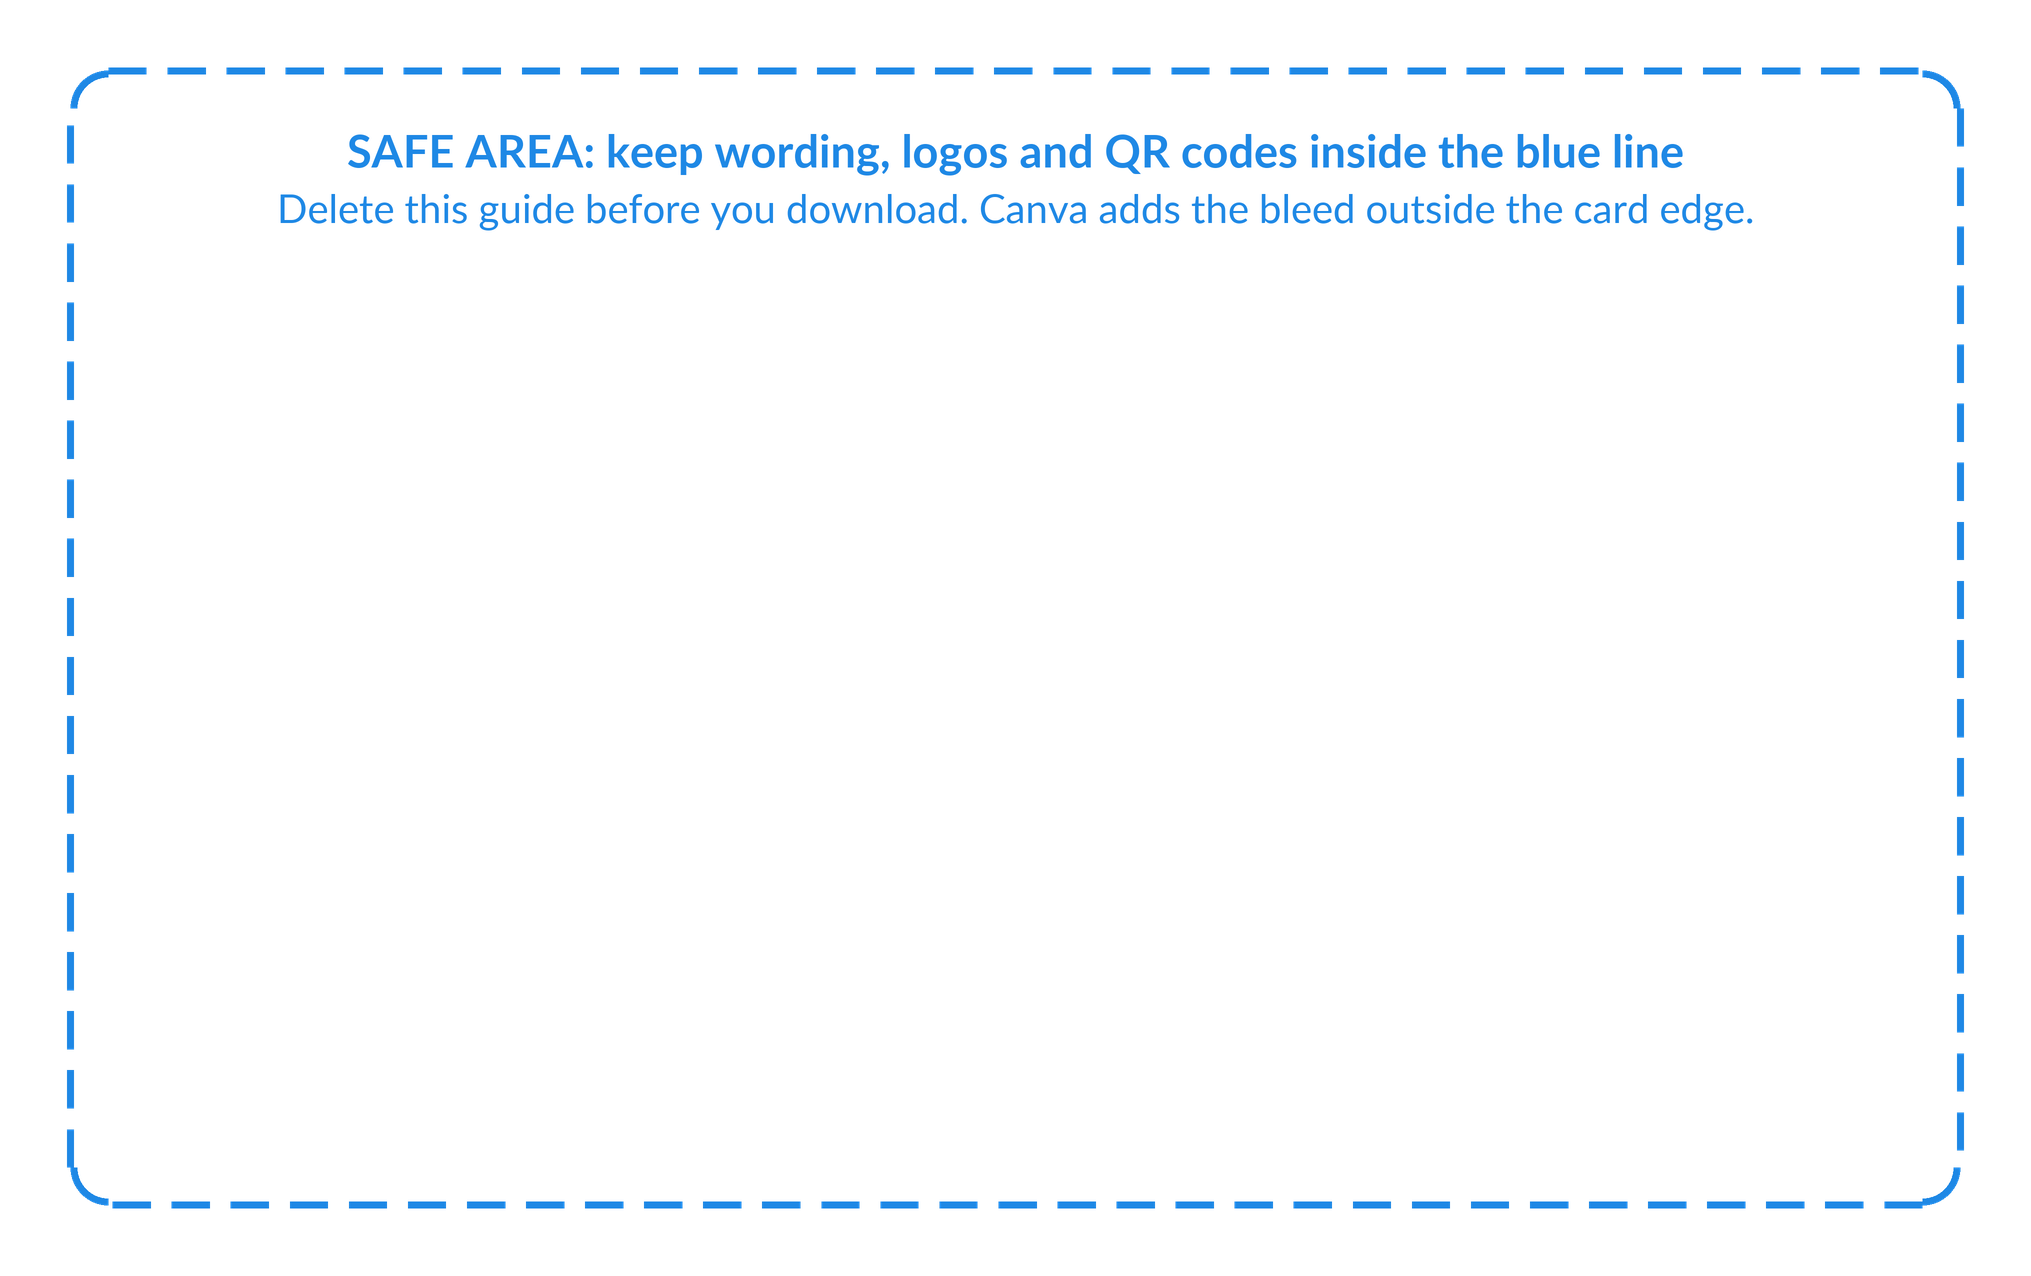
Make the design the size of the finished card, not 92 x 60mm: Canva adds the bleed for you. Our main guide to designing a plastic card in Canva goes through these settings in more detail, and Canva print bleed and crop marks explains why the bleed matters.
Step 2: Measure your stamp, then size the boxes
Size the boxes to the stamp you’ll actually use, not the other way round. Press it once on paper and measure the mark it makes, not the handle. Then make each box 1 to 2mm wider than the mark, so a slightly crooked stamp still lands inside.
- A 12mm box suits a mark up to about 10 or 11mm across.
- A 10mm box suits a mark of about 8 or 9mm.
- A full 12mm mark? Ten 13mm boxes still fit on the card, at 77mm across.
- Leave about 3mm between boxes, across and down, so stamps don’t run into each other.
Then match the number of boxes to how often people visit. Ten suits a weekly coffee customer, and six suits a salon client who comes every six weeks. This table shows what fits inside the 80 x 48mm safe area with 3mm gaps. The figures are our design suggestion, not a printing rule.
| Boxes | Suits | Layout | Height left for wording |
|---|---|---|---|
| 5 | Nail and beauty salons | 1 row of 5 at 12mm | 36mm |
| 6 | Hair salons, dog groomers | 2 rows of 3 at 15mm | 15mm |
| 8 | Barbers, bakeries | 2 rows of 4 at 15mm | 15mm |
| 10 | Cafés, pet shops, launderettes | 2 rows of 5 at 12mm | 21mm |
| 12 | Longer schemes | 2 rows of 6 at 10mm | 25mm |
| 15 | Longer schemes, on one whole side | 3 rows of 5 at 12mm | 6mm |
Our guide to starting a loyalty card scheme works out how long a card takes to fill, and loyalty card ideas suggests a reward for twelve kinds of business.
Step 3: Draw the grid inside the safe area
Here’s the ten-box card to scale. The wording takes the top 21mm of the safe area and the boxes fill the 72 x 27mm below it.
- The safe area. 3mm inside the edge, 80 x 48mm. Every box and every word stays inside it.
- The box. 12mm across here, for a stamp mark of up to about 10 or 11mm.
- The gap. 3mm across and down.
- The last box. “Free” explains the offer in one word.
In Canva, add one circle or square shape for the first box and get its size right before you copy it for the rest:
- Turn on the rulers. Press Shift and R. The rulers use your design’s units, so in a millimetre design they read in millimetres. Canva’s rulers only work on a computer, not in the phone app (Canva’s rulers and guides).
- Drag guides in from the rulers to mark the safe area and the top and bottom of each row, then line the boxes up against them.
- Don’t trust a typed size. Canva’s help describes the width and height boxes in its Position panel in pixels (Canva help), so check the box against the rulers instead.
- Keep the boxes pale, white or a light tint, and the outline thin. A dark ink shows best on a pale box; that’s our suggestion.
- Print page 1 at 100% scale on paper, not “fit to page”, and press your stamp into a box. It’s the quickest way to know the boxes are big enough.
Step 4: Make the offer match the boxes
Count the boxes against the offer before you download. “Buy 9, get the 10th free” needs nine boxes to stamp and a tenth that says Free. It’s an easy slip when you copy or delete a box in Canva, and once the cards are printed it’s too late.
Nine boxes, and the ninth says Free: the reward comes a visit early.
Nine boxes to stamp, and a tenth that says Free.
- Say what the reward is. “Every 10th coffee free” or “Every 6th blow-dry free” is clearer than “a free gift”.
- Print the rules on the card. “One stamp per visit” or “Not valid with other offers” saves an awkward conversation at the till.
- Keep the rules short, and no smaller than 6pt. Our guide to font sizes on plastic cards suggests sizes.
- Leave dates off. A card with no year printed on it lasts as long as it takes to hand them all out.
Step 5: Front or back, and how the card is used
The boxes can go on either side. On the front, customers see their progress every time they take the card out, and the rules go on the back. On the back, the front stays free for a full-bleed picture or a large logo. Either way, keep the side with the boxes pale so the stamps show.
When a card is full, we suggest taking it back, giving the reward and handing over a new card with the first box or two already stamped. A card you’ve taken back can’t be redeemed twice. A stamp with your own logo or initials, kept behind the counter, is harder to copy than a plain tick or star. Initials or a date in each box need a pen, so they suit Plastic-Free Board and EcoTough cards, or a write-on panel, not the printed surface of a PVC card.
Making a punch card instead
A punch needs no ink and no drying time. A PVC card is 0.76mm thick, so buy a sturdy punch, not one made for paper. Set the card up in Canva the same way, with three differences:
- Put the places along the edge. A hand punch only reaches so far in, so we suggest the two long edges. Measure how far yours reaches, and keep each place inside the 3mm safe area.
- Keep the wording in the middle, so it stays whole whatever gets punched.
- Keep the same places clear on page 2. Every hole goes right through, so it shows on the back too. Don’t put a write-on panel, a barcode or your terms where a hole will land.
A shaped punch, such as a star, a heart or your logo, is harder to fake than a round hole. Our guide to loyalty stamp cards has a punch card drawn to scale.
A barcode or QR code instead of stamps
If your till or loyalty software keeps the points, the card needs its own number, as a barcode or QR code the till can read, and no boxes at all. Don’t make a Canva page for every card. Design one card with a white box where the code will go, and send the numbers in a spreadsheet: each card is printed with its own code.
- Ask your till supplier first which code it reads. If it reads any, we use Code 39, our default on most orders.
- Leave a white box with clear space either side of the bars. As a rule of thumb, the bars want to be at least 10mm tall, with the narrowest bar 0.25mm or more.
- A QR code wants to be at least 15mm square, dark on light.
- The same code on every card, such as a QR code to your website, is part of your design and costs nothing extra. You can add that one in Canva.
Names, numbers and barcodes on Canva cards shows how to lay out the spreadsheet, and our guide to adding a barcode to a loyalty card covers the codes themselves.
Step 6: Download a PDF Print file and send it
- Select Share, then Download, and choose PDF Print.
- Tick Crop marks and bleed. Leave the crop marks on: we delete them before printing.
- Choose CMYK as the colour profile if your plan offers it. Canva offers CMYK on its paid plans (Canva’s download file types).
- Download all pages, so the front and back are in one PDF.
Email the PDF to sales@cpcards.co.uk with the card type, the quantity and how you’ll mark the boxes, plus any write-on panel you’d like and where it goes. We check every file free for bleed, resolution, colour mode and set-up. If something needs changing, fix it in Canva and resend at no charge, or we fix it for £10 +vat. Our Canva artwork checklist lists every check to make before you send.
Mistakes we see on Canva stamp cards
Rather not do it yourself?
Our design service lays out your stamp card for £29 +vat, with no limit on reasonable amends. Send your logo, the offer and how many boxes you want, or a Canva draft you’re not happy with. For the layout and wording in general, see how to design a loyalty card.
Questions & Answers
-
Can you make a loyalty card in Canva?
Yes. Create a custom-size design of 86 x 54mm with the units in millimetres, turn on print bleed, and draw your stamp boxes inside the 80 x 48mm safe area. Put the back of the card on page 2, download a PDF Print file with crop marks and bleed, and email it to us to print on plastic.
-
What size should stamp boxes be on a loyalty card?
Measure the mark your stamp makes and make each box 1 to 2mm wider. Stamp marks are typically 10 to 12mm across, so a 12mm box suits a mark up to about 10 or 11mm. Leave about 3mm between boxes so stamps don’t run into each other.
-
How many stamp boxes fit on a loyalty card?
Ten 12mm boxes with 3mm gaps fit in two rows of five. They take up 72 x 27mm, leaving about 21mm of the safe area for your name and offer. For a full 12mm stamp mark, ten 13mm boxes still fit, at 77mm across.
-
Can you use an ordinary ink pad on a plastic loyalty card?
Not on the printed surface of a PVC card. It’s sealed and non-porous, so ordinary ink sits on top and smudges. Use a quick-drying ink made for non-porous surfaces, or a sturdy punch. Our Plastic-Free Board and EcoTough cards take an ordinary ink stamp anywhere on the card.
-
Should the stamp boxes go on the front or the back?
Either. Printing the back costs nothing extra. On the front, customers see their progress every time they take the card out. On the back, the front stays free for a large logo or picture. Keep the boxes pale so the stamps show.
-
Can I use a Canva loyalty card template?
Check its size first. A plastic card is 86 x 54mm, and a template made for paper cards may be a different shape. If it is, copy the layout onto a new custom-size design of 86 x 54mm, and check nothing has moved within 3mm of the edge.
-
How do I make the stamp boxes the right size in Canva?
Turn on Canva’s rulers with Shift and R on a computer. They use your design’s units, so in a millimetre design you can check the first box against them before you copy it. Canva’s help describes the width and height boxes in its Position panel in pixels, so don’t rely on a typed number. To be sure, print the page at 100% scale and measure a box with a ruler.
-
Do I need Canva Pro to make a loyalty card?
No. Everything works on Canva’s free plan except downloading in CMYK, which Canva offers on its paid plans. If you can only download in RGB, send that: our free artwork check flags the colour mode, and we can convert it for £10 +vat.
-
Can you design my loyalty card for me?
Yes. Our design service is £29 +vat, with no limit on reasonable amends. Send your logo, your offer and the number of boxes, and you approve a free email proof before anything is printed.
Ready to order your stamp cards?
Send us your Canva PDF with the card type, the quantity and how you’ll mark the boxes. We’ll check the file free of charge and quote by email.
Your free photorealistic proof shows every box in place, so you can check the layout and wording before anything is printed. The colours on the proof are a guide only, because every screen shows colour differently.