


How to Add a Barcode to a Loyalty Card
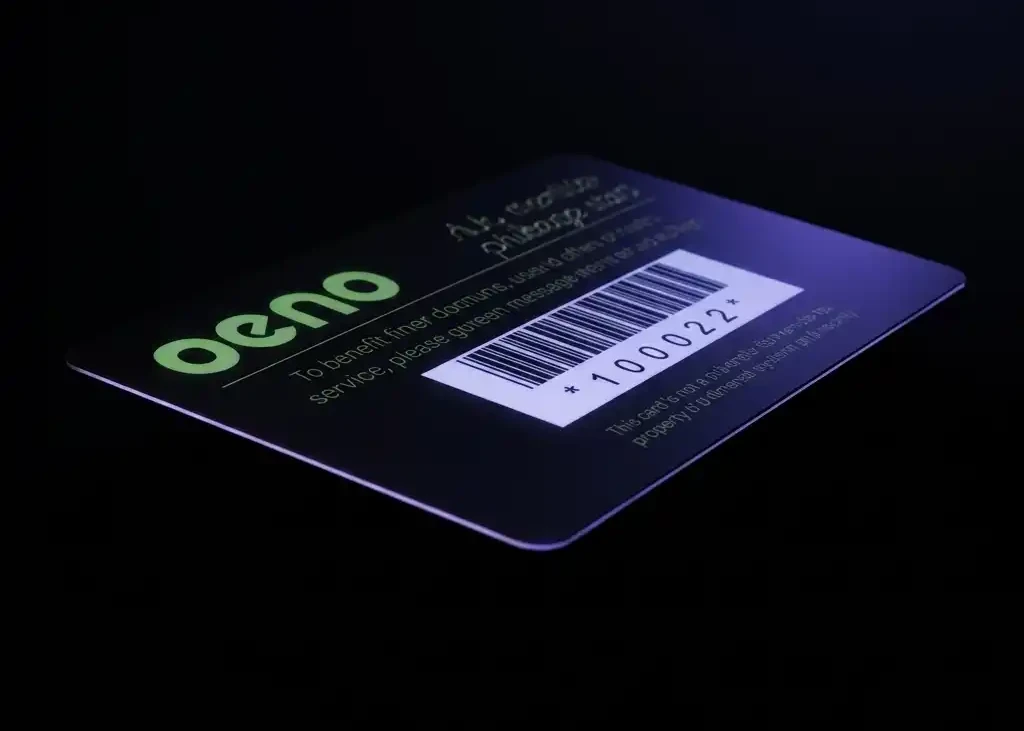
Barcodes on loyalty cards sound technical. They are not. The barcode is just a machine-readable version of a number — usually a customer ID or card number. Your POS system, loyalty app, or scanner reads the barcode and looks up that number in your database to identify the customer and update their points or rewards.
The barcode itself does not store loyalty points. It just stores an ID. Your software does the rest.
Step 1 — Decide your numbering scheme
Before you design anything, decide what number format your loyalty system expects. Common options:
- Sequential numbers (e.g. 0001 to 1000 for your first batch)
- EAN-13 formatted numbers (13 digits, includes a check digit)
- Your own proprietary format matching your POS or app
Step 2 — Choose your barcode symbology
The most common barcode types used on loyalty cards in the UK:
Code 128: encodes alphanumeric data, compact, very widely supported. Good default choice.
Code 39: older, slightly larger, letters and numbers only. Used in some legacy retail systems.
EAN-13: the standard retail barcode format, 13 numeric digits. Required if your system expects EAN.
ITF-14: numeric only, often used in warehousing. Less common for loyalty cards.
Interleaved 2 of 5: numeric only, compact. Used in some specific retail environments.
Step 3 — Generate the barcodes
If you need one barcode (same number on every card): generate it in Adobe Illustrator using a barcode plugin (Barcode Producer, ID Automation), or use an online generator like barcode.tec-it.com. Export as vector (SVG or EPS) and place in your artwork.
If every card needs a unique barcode (variable data printing): you need to supply a data file — usually a CSV with one number per row — and the printer will use variable data printing (VDP) to apply a unique barcode to each card. Not all card printers offer VDP; confirm before you order.
Do not generate barcodes as low-resolution images. Barcode scanners need sharp, high-contrast lines. Always use vector barcodes or raster at 600 dpi minimum.
Step 4 — Sizing and quiet zones
Barcodes need clear space around them — the quiet zone — to scan reliably. Do not place text, images, or design elements right up to the barcode edge.
Minimum bar height for Code 128 on a loyalty card: around 8-10mm. Width depends on the data length. Test scan your artwork proof before approving the full print run.
Step 5 — Test before you print
Get a printed proof and scan it with the actual scanner or app your customers will use. Do not assume it will work. Barcode scanning failures on finished cards are expensive and embarrassing. Test the proof, confirm it scans correctly, then approve the run.
Ready to order?
We print loyalty cards with barcodes — static or variable data — manufactured in England with free UK delivery. Confirm your barcode format and number range with your loyalty system supplier first, then get in touch or get a quote and we will take it from there.
View our loyalty card printing options