

How to Make a Membership Card in Canva
Make a custom-size Canva design of 86 x 54mm and turn on print bleed. Put the front on page 1 and the back on page 2, and leave clear spaces for the member’s name, number and date, and for a signature strip. Don’t make a page per member: send the names in an Excel file and we print each card from its row.
This is the membership card version of our guide to designing a plastic card in Canva. It covers what goes on each side, the spaces to leave for strips and names, expiry dates, membership levels in colour, and what to send us.
The short versionCustom size, 86 x 54mm (54 x 86mm for portrait), print bleed on. Page 1, the front: logo, name, the words Membership card, and a clear space for each member’s details. Page 2, the back: rules, contact details, a white space for a signature strip, and nothing important in the top 16mm if the card has a magnetic strip. One design for every member, with the names and numbers in an Excel file. Download PDF Print with crop marks and bleed, and email both to sales@cpcards.co.uk.
Step 1: Set up a card-size design
- Select Custom size, set the units to mm, and enter 86 by 54. Canva’s custom sizes take px, in, mm or cm (Canva help).
- Turn on print bleed: File, then Rulers and guides, then Show print bleed. In some versions it’s under File, then Settings. Canva’s bleed is 3.175mm and can’t be changed (Canva help). Run backgrounds to its outer edge.
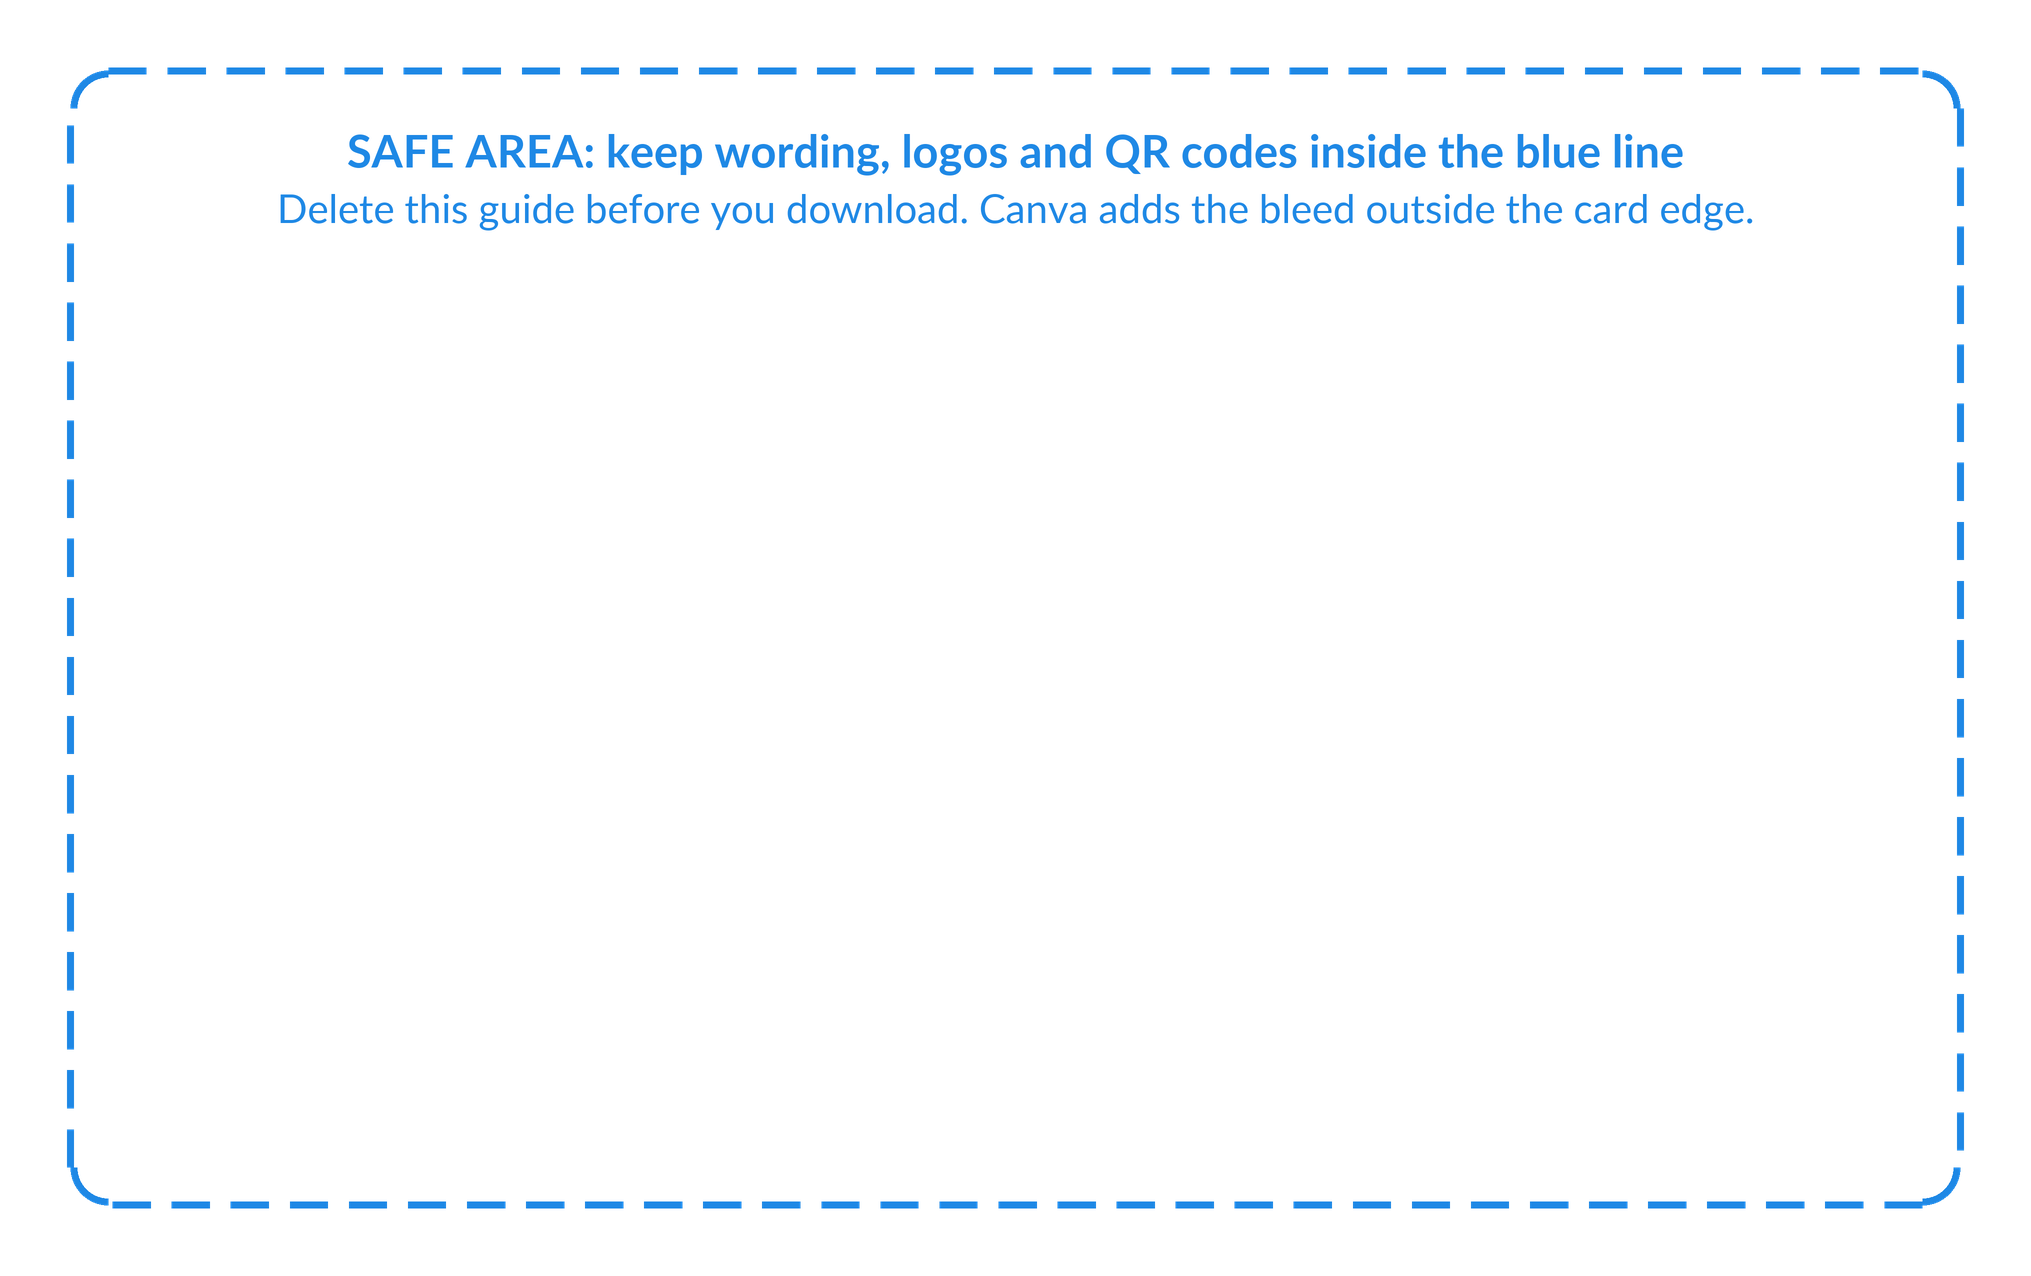
- Mark the safe area. Keep wording, logos and codes at least 3mm inside the card edge. Press Shift and R for rulers and drag a guide in from each side, or upload our Canva safe area guide, stretch it over the page and delete it before you download.
- Add a page for the back. Select Add page (Canva help). Page 1 is the front and page 2 the back. Printing both sides costs nothing extra.
Don’t start from a Canva business card: it’s 89 x 51mm, the wrong shape. If you already have one, our guide to turning a Canva business card into a plastic card shows how to move it across. There’s more on bleed and crop marks in Canva print bleed explained.
Portrait or landscape?
Most membership cards are landscape, like a bank card. A portrait card is the same card turned round, at the same price: enter 54 by 86 in Canva instead. Portrait suits a card worn on a lanyard, where a 15 x 3mm slot in the short edge lets it hang straight, and on a portrait card a magnetic strip runs down one side. Our guide to portrait or landscape cards compares the two.
Step 2: Design the front and back
The front says whose card it is and who it belongs to. The back holds everything that has to be there but needn’t be seen at a glance. Keep the front to four or five pieces of information, and move the rest to the back.
- Your logo and name, big enough to read across a room.
- The words Membership card, so nobody mistakes it for a business card.
- A clear space for each member’s details: name, number and date, printed from your spreadsheet.
- A magnetic strip, if you need one: 13mm deep, 3mm down from the top edge. Nothing important under it.
- A signature strip, typically 75 x 8mm, on a white area, with Signature printed above it.
- Rules and contact details: who owns the card, and where to return it if found.
- A barcode, if you scan cards, on a white box with the number under it.
The dashed amber line in each drawing is the safe area, 3mm inside the edge. Quillmoor Rowing Club is made up, and the barcode is an illustration that won’t scan.
Leaving room for a signature strip
A signature strip is added on top of the finished card, not printed, so your design only needs to leave room for it. On page 2, draw a white rectangle where it goes, sized with Canva’s rulers: a typical strip is 75 x 8mm, though any size is available, and it must stop at least 4mm from the edge. Type Signature above or beside it, never on it. On a coloured background the strip picks up the colour behind it, which is why it sits on white. Then tell us in your email that the rectangle marks the strip. Our page on signature strips has every size and position.
Leaving room for a magnetic strip
A magnetic strip runs the full width of the back, 3mm down from the top edge and 13mm deep, so keep wording, logos and codes out of the top 16mm of page 2. Your background can carry on underneath: the strip covers it. A signature strip goes below it. Cards with a magnetic strip are 760 microns thick, our standard card. More on our magnetic strips page.
Step 3: One design for every member
Names, membership numbers, levels and expiry dates can all be different on every card, and none of them needs a page of its own in Canva. You design one card with a clear space for the details, and send them to us in an Excel file, one row per member. We print each card from its row, in the same run.
- Size the space for your longest name. Type the longest name on your list into the design as a sample, at the size you want, with a sample number and date under it. A space that suits a short name may be too small for a double-barrelled one.
- Use a plain font for the sample. Names and numbers are normally printed in Arial or Times New Roman, in any CMYK colour, so a plain sans-serif sample shows the space truthfully.
- Delete the samples before you download, and tell us in your email where the names and numbers go. Your free proof shows them in place before anything is printed.
- Strong contrast. Dark text on a pale panel, or white on a dark card, never over a busy photo. Keep the details inside the safe area.
In the spreadsheet, format every column as Text before you type or paste, or Excel turns a number such as 0418 into 418. Type each name exactly as it should print, capitals and all, because we print the file as it is and don’t edit it. Personalisation is an optional extra, priced on your quote. Our guide to names, numbers and barcodes from Canva covers the file, barcodes and QR codes in detail, and personalised plastic cards shows every detail that can change.
What about Canva’s Bulk Create?Bulk Create makes one version of a design for each row of a spreadsheet, on Canva’s paid plans and on a computer (Canva help). It’s handy for previewing your longest names in the space, but you don’t need it to order: send us one design and the spreadsheet you’d have fed it. A Canva design also tops out at 350 pages.
Don’t know every member yet? Our bureau personalisation service holds your printed cards and adds each name as people join, in black, white, metallic gold or metallic silver, onto one side of a finished card. Allow 3 working days. For that, leave a plain light or dark area on the card for the name.
Expiry dates: printed, written or left off
Decide this before you design, because it changes what goes in the space. There are four ways to show when a membership runs out.
| In Canva | Best for | |
|---|---|---|
| A season year | Type it into the design, such as 2026/27 Season. | Clubs that renew everyone together. New cards each season. |
| A date for each member | Type Expires as part of the design, and leave a space for the date from your spreadsheet. | Rolling memberships that start at different times of year. |
| A write-on panel | Type Valid until, and leave a white space for a write-on panel beside it. | One batch of cards that lasts several years. |
| No date | Type Member since and a year, or nothing at all. | Clubs that check membership against their own records. |
Our guide to what to put on a membership card goes through each option, with wording you can copy for the back.
Membership levels in colour
Full, Junior and Social members can each have their own card colour, so staff can tell them apart at a glance. In Canva, finish the first level’s front and back, then select Duplicate page for each one (Canva help) and change the colour and the level’s name. Give each page a title, such as Junior front, so nothing gets mixed up.
Colour variants cost nothing extra when ordered as one job: tell us how many cards of each level you need. Pick colours that are easy to tell apart, so the colour code still works if a shade varies from one order to the next. If every level shares one design, the level can come from your spreadsheet instead, printed as a word on each card.
Step 4: Download and send
- Share, then Download, then PDF Print.
- Tick Crop marks and bleed. Leave the crop marks on: we delete them before printing.
- Choose CMYK as the colour profile if your plan offers it (Canva’s download types). On the free plan, send the RGB file: see Canva CMYK and print colours.
- Download all pages, fronts and backs in one PDF.
- Email the PDF and your Excel file to sales@cpcards.co.uk, with the quantity, which page is which level, and where the strips go.
We check every file free for bleed, resolution, colour mode and set-up, and tell you what we find. Fix anything yourself and resend at no charge, or we fix it for £10 +vat. The check is technical: we don’t check names, spelling or numbers, so read your spreadsheet before you send it, and read the free email proof carefully before you approve it. Our Canva artwork checklist has every check in one list.
Mistakes we see in Canva membership cards
Rather not design it yourself?
Our design service designs your membership card for £29 +vat, from your logo and wording, a sketch or a Canva draft you’re not happy with, with no limit on reasonable amends. Or start from our free membership card template, or borrow a layout from our membership card design ideas.
Questions & Answers
-
What size is a membership card in Canva?
Create a custom size of 86 x 54mm with the units set to mm, or 54 x 86mm for a portrait card. Then turn on Canva’s print bleed, which adds the bleed for you. Don’t start from Canva’s business card size: it’s 89 x 51mm, a paper card shape.
-
Do I need a Canva page for every member?
No. Design one card with a clear space for the name, number and date, and send us the members’ details in an Excel file, one row per member. We print each card from its row. A Canva design can only hold 350 pages anyway.
-
How do I leave space for a signature strip in Canva?
On page 2, the back, leave a white area where the strip goes. A typical strip is 75 x 8mm and must stop at least 4mm from the edge of the card. Print the word Signature beside or above it, never on it, and tell us in your email where it goes. The strip is added when the card is made.
-
Where does a magnetic strip go on a membership card?
On the back, 3mm down from the top edge, 13mm deep and the full 86mm across. Keep wording and logos out of that band. Your background can run under it, as the strip covers it.
-
Should I print the expiry date on the card?
Only if you’re happy to issue new cards when it passes. A season year suits clubs that renew everyone together, and a date from your spreadsheet suits rolling memberships. For cards that last several years, use a write-on panel for the date, or leave it off and check members against your records.
-
Can each membership level be a different colour?
Yes. Duplicate the front and back pages in Canva for each level and change the colour, then tell us how many of each you need. Colour variants cost nothing extra when ordered as one job. Pick colours that are easy to tell apart, so the colour code still works if a shade varies from one order to the next.
-
Can each card have the member’s photo?
Not printed on the card: we can’t print a different photo on each card. A QR code on each card can open the member’s online record, photo included. If every card must carry its own printed photo, a desktop ID card printer is the better tool.
-
Can names be added after the cards are printed?
Yes, with our bureau personalisation service. We hold your printed cards, and when you email an Excel file of new members we print their names onto cards from your stock, in black, white, metallic gold or metallic silver. Leave a plain area on the card for the name. Allow 3 working days.
-
Which Canva file should I send for membership cards?
A PDF Print download with Crop marks and bleed ticked, all pages, and CMYK if your plan offers it. Attach it to an email to sales@cpcards.co.uk with your Excel file of members and the quantity. We delete the crop marks before printing.
Ready to order your membership cards?

Send us your Canva PDF and your members’ Excel file with the quantity. We’ll check the artwork free of charge and quote by email, often within minutes during working hours.
Your free photorealistic proof lets you check the layout and wording before anything is printed. The colours on the proof are a guide only, because every screen shows colour differently. If a colour has to be right, add a postal proof.